Anyway, the experiment is ongoing, and it's equal parts exciting, frustrating, educational, enraging and fun.
Diaper #1 - one-size, turned & topstitched, my own pattern.
There are lots of cloth diaper patterns available on the internet. Some are free, some you have to pay for; I found some of each that I liked, but before purchasing anything or trying a free one I decided to draft my own pattern based on one of my dd's current cloth diapers.
This is a Tetro One-size Fitted diaper, purchased online at Snaps & Snails. It's made of cotton flannel, and has a neat closure system - two strings that you tie like a shoelace. It's a relatively simple design, and I found it easy to trace:


So here's the pattern, complete with measurements, elastic markings and all that:

I traced and transferred and all that and made 3 tracing templates. I used an old (and quite ugly) flannel baby blanket for fabric (I have a few of those at my disposal) and traced the templates onto it with pencil. The inside line is the sew line, the outer one is the seam allowance:


These are the pieces. I didn't put wings on the middle one because it acts as a soaker layer:

Now the construction phase. I sewed the wingless piece in:

I cut out a smaller rectangular piece that would be the 'soaker' in the middle of the diaper, pinned and sewed that in:


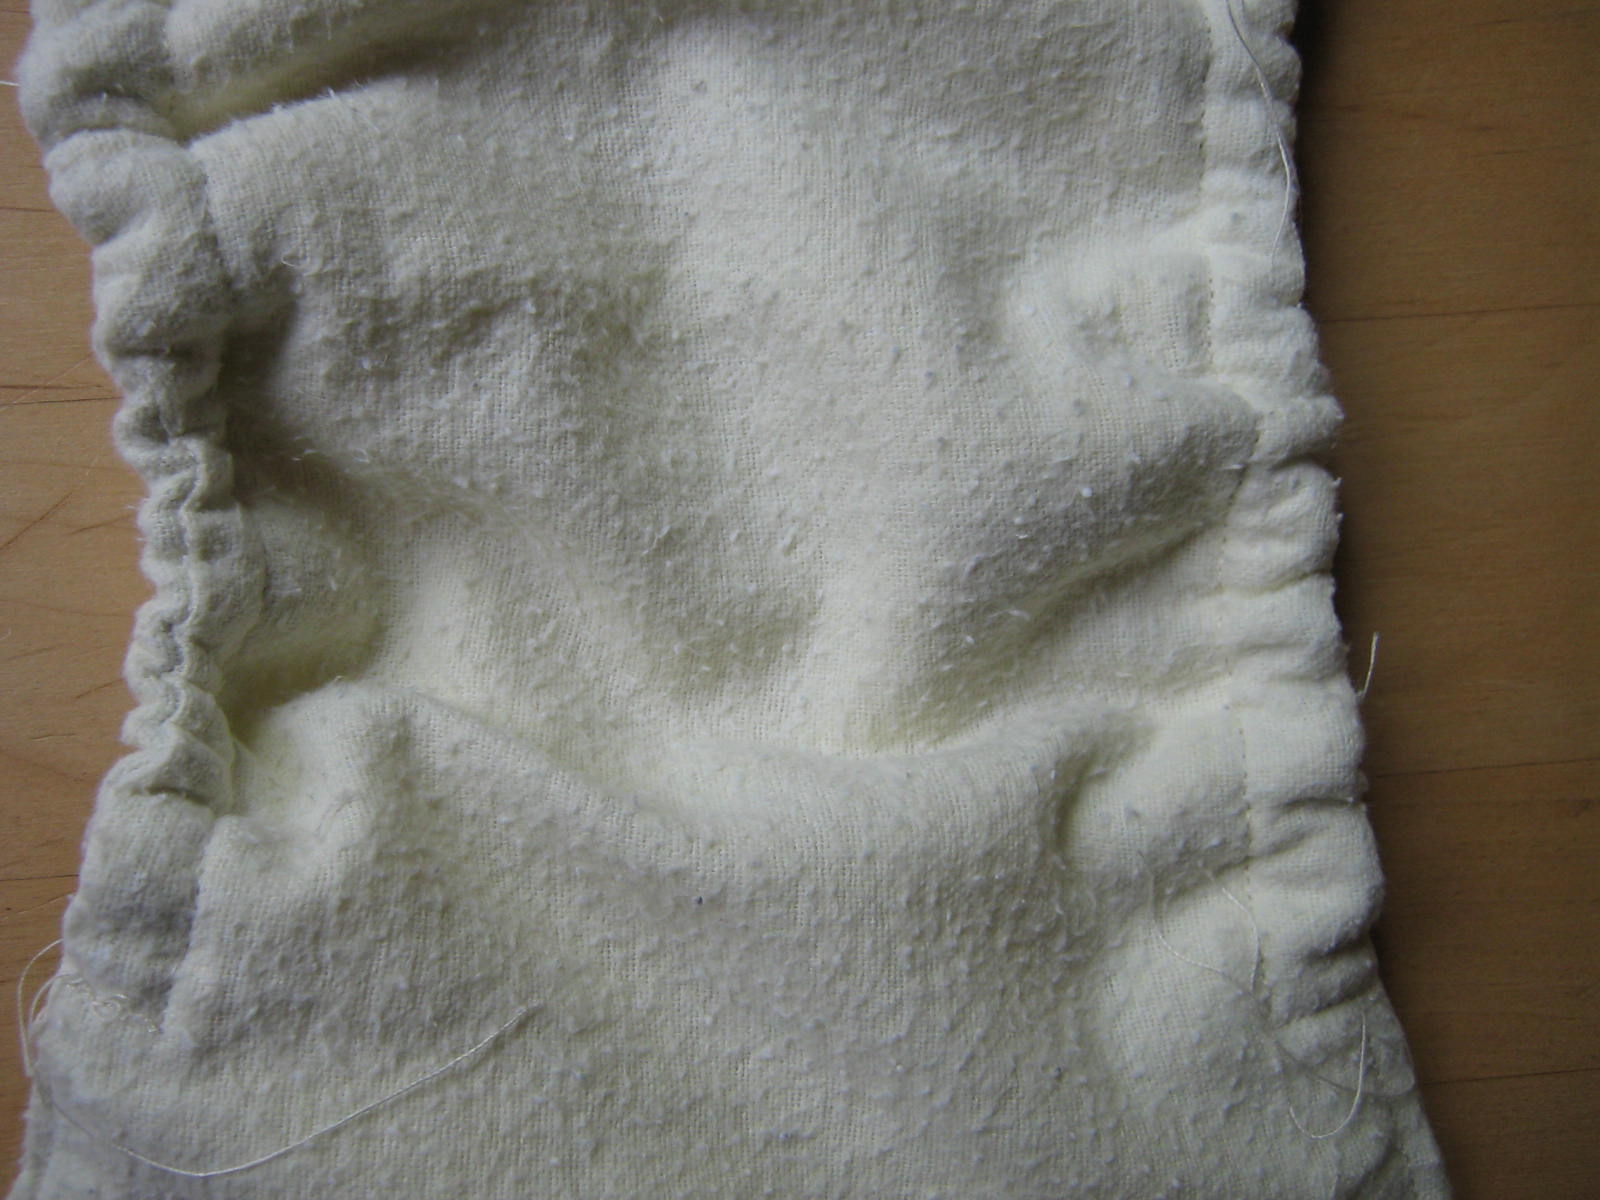
Then came the elastics, back and legs:


This was by far the most difficult part of the whole construction phase. I had to refer to a few online tutorials to help me out, and I replaced the back elastic twice before grabbing a few scraps of fabric to practice on until I got it right (thanks to dh for that suggestion!).

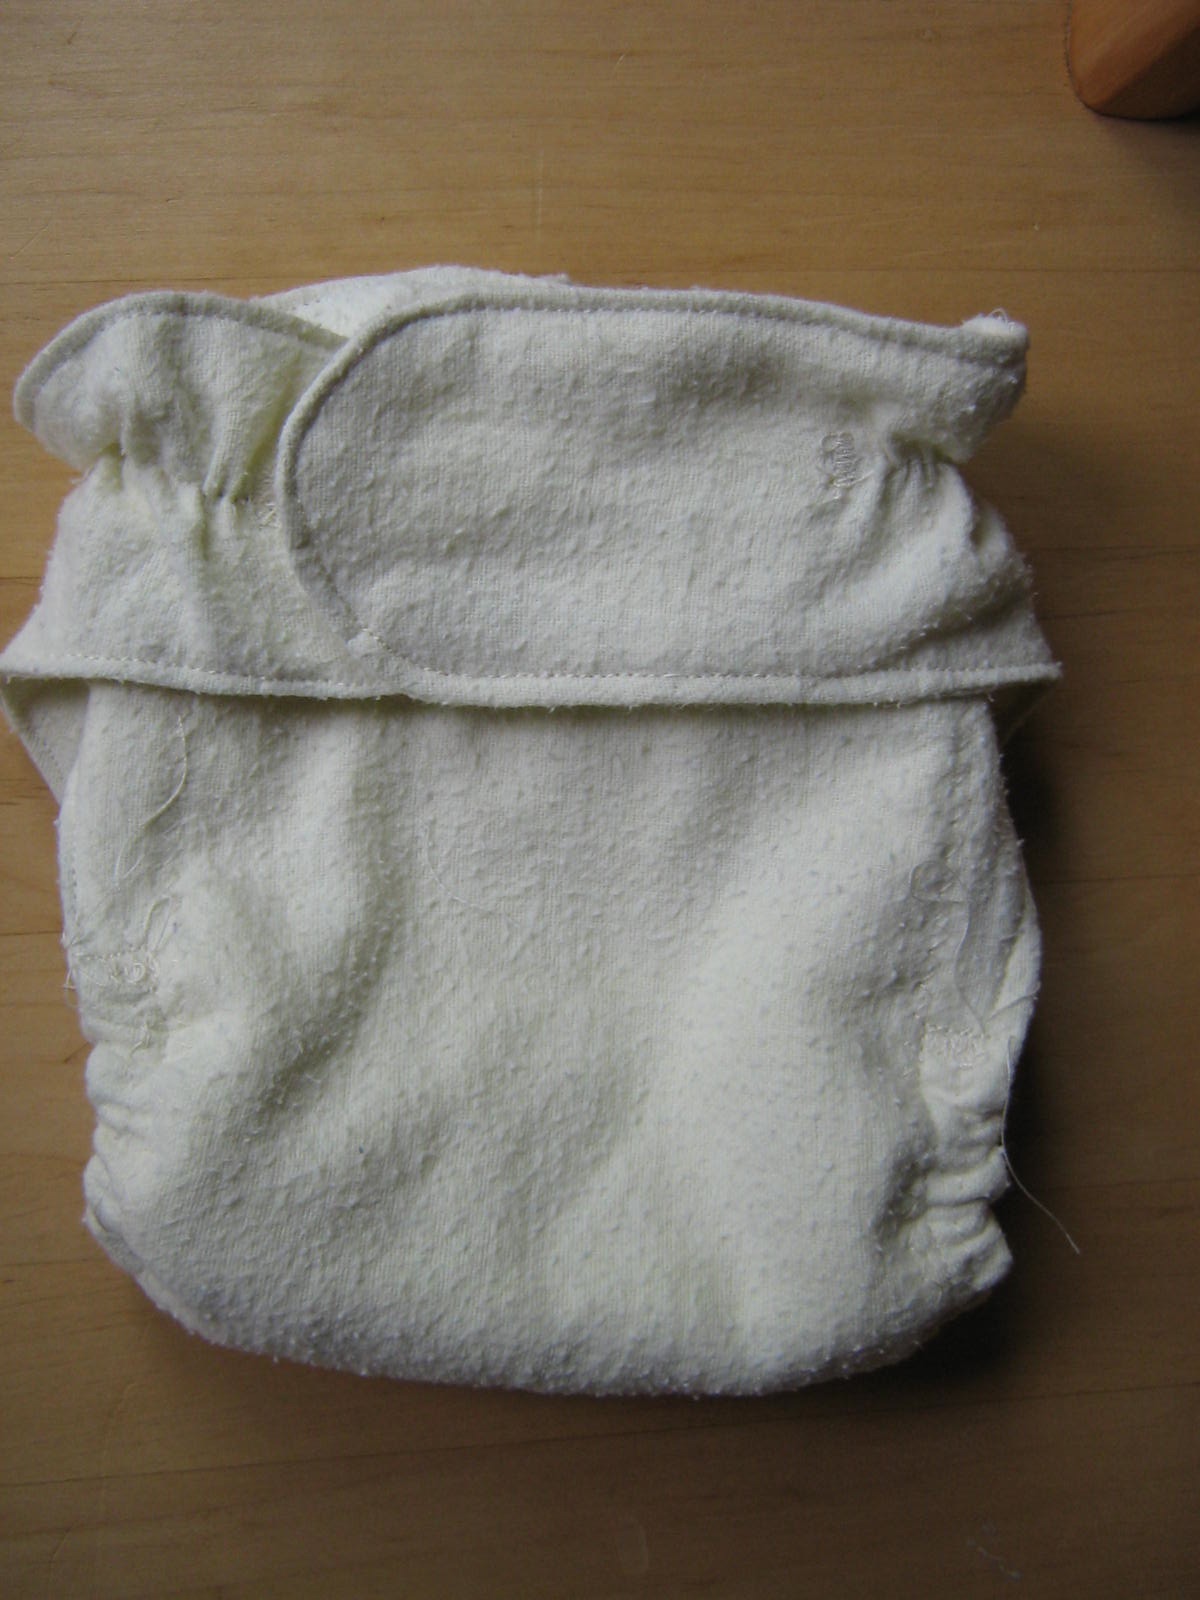
Then the top (or inside) piece went on. I sewed on the 'sew line' leaving the front part open so I could turn it inside out:

Now to topstitch all around the diaper. You don't have to do this step, but it makes the diaper look neater (and more professional) and if you're topstitching the front anyway, might as well do the whole thing.


I sewed around the leg elastics, too, making sure not to catch the elastic:
And here's the finished product. Looks a lot like the original, doesn't it?


"Hey, that looks like a diaper!" - dh when I showed it to him.
I didn't bother to put on the tie strings because some further research told me that I'd used the wrong stitch (straight instead of zigzag) to attach the elastics, but it was a good practice diaper. I started it on Friday and finished it Saturday afternoon. Not bad, eh?
hey this looks like a blog!
ReplyDelete